Have I mentioned that I am over winter? So thoroughly over it. I'm at that dreary doldrums stage where whining about your low productivity levels is followed by wallowing on the couch. The stage where you briefly think that indeed, drinking smoothies that are green will become a daily practice, and also morning exercise! Exercise and green smoothies! And then you make one green smoothie and it really isn't very good, and then you hit the snooze button four times before you realize the alarm has been going off. That stage. You know the one, don't pretend.
Anyway, it is at this time, the winteriest of winter times, that I must have colorful, clean food to keep me feeling human. And not colorful in a green-smoothie-resembling-Swamp-Thing kind of way (no offense to green smoothies--I'll figure out how to make them delicious eventually). The other night, I had a craving for something bright, crisp and simple that I could throw together fast. I was cooking for myself, so if you want to share this with someone else, just double it. Or, if you don't want just this for dinner like I did, this could do for two side dishes. There are no magical chemical reactions going on here--it's not like baking--so just adjust levels however you see fit.
Carrot-Ginger Salad with Avocado
2 carrots, big-ish
2 tablespoons rice wine vinegar
tablespoon or so of grated fresh ginger (depending on how spicy you like it)
dollop of honey (about a teaspoon and a half)
1 avocado cut up
1. Ribbon your carrots. Peel them first and keep using the peeler to strip off big noodles of carrot flesh. If you haven't done this before, here's a video of some lady ribboning a zucchini--same concept.
2. Toss your carrot noodles in the vinegar, ginger, honey. Let sit for 5 minutes or so while you cut up the avocado. Here's a fancy way to do that--I just halve mine, skin them, and cut them. Messy fingers? Sure. Do I care? Not a whit.
3. Nom.
This is pretty much amazing, I have to say. Now I'm craving it again. Next grocery run: more avocado.
Friday, January 28, 2011
Friday, January 21, 2011
Invasion of the Gadgets
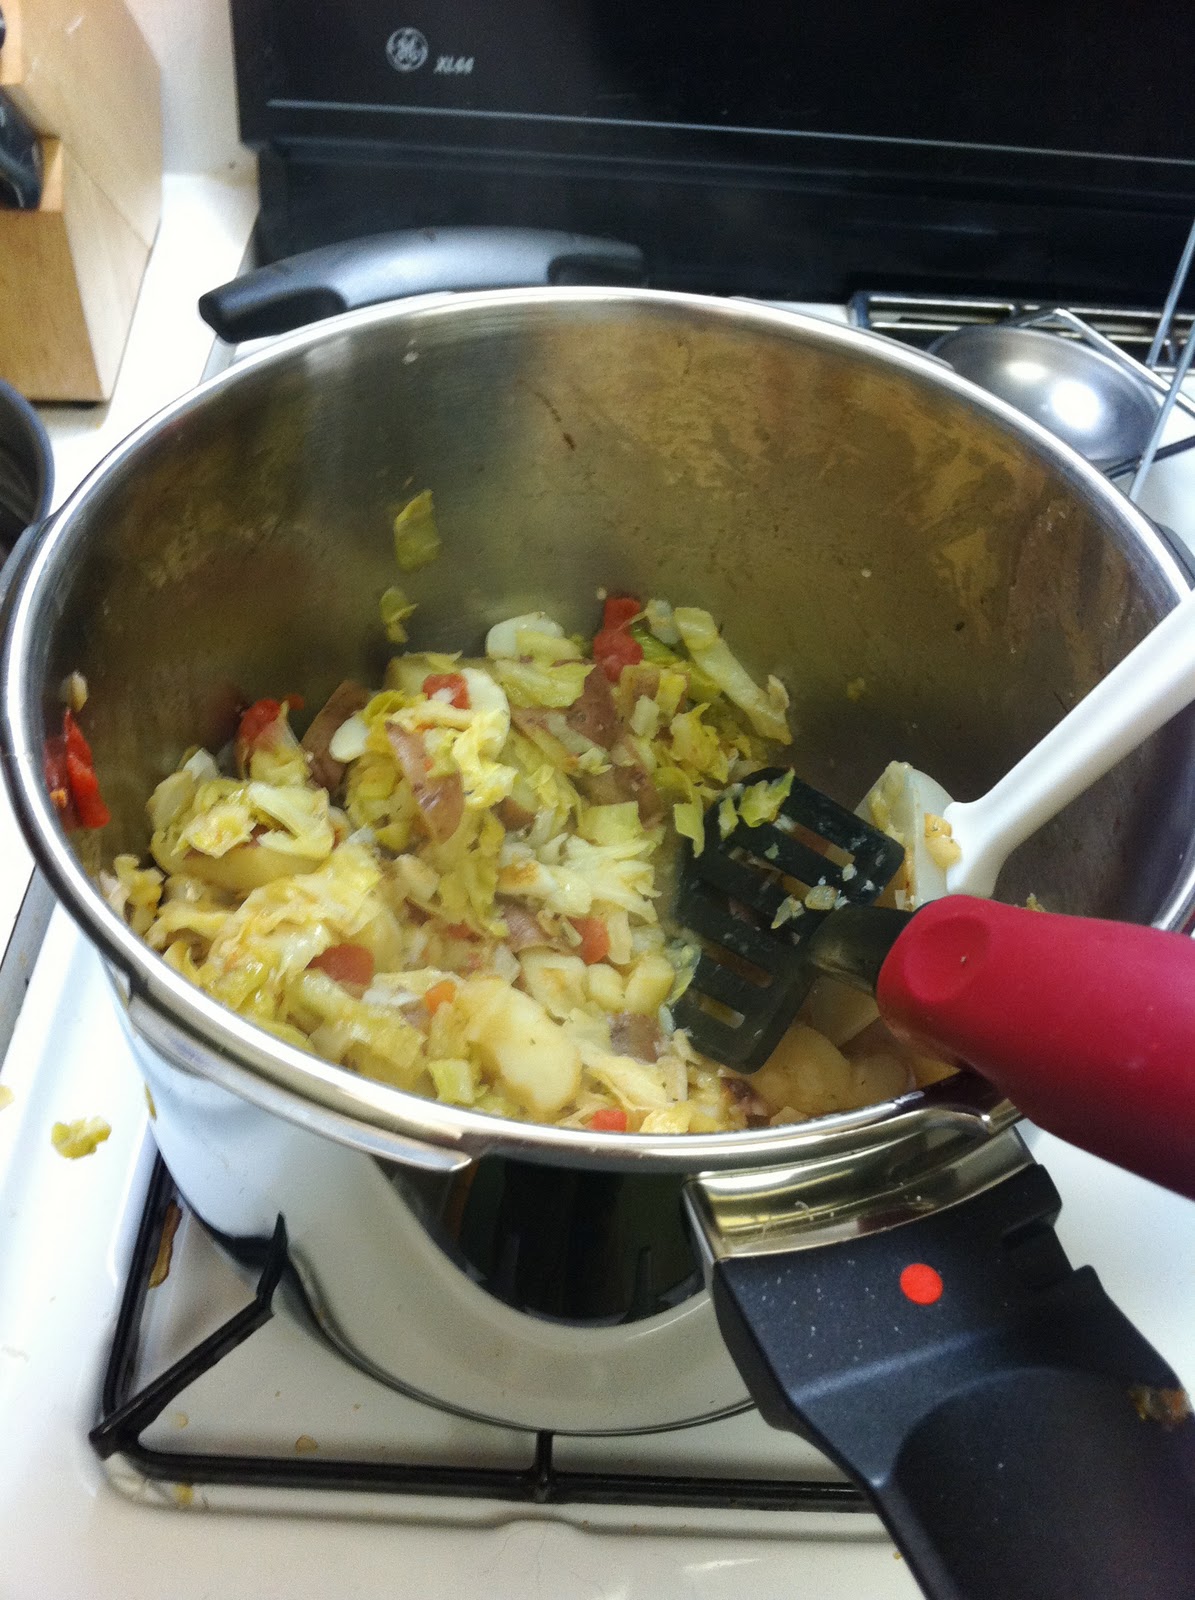
This Christmas was the Year of the Gadgets. When the dust settled, our kitchen had acquired a pressure cooker, ice cream maker, bread machine, and wine making kit. We also received what appeared to be an electric knife which I then regifted without first looking in the box--oops! Luckily that was to Wife's mom, who thought it was funny.
Anyway. With all of these new contraptions around, I've been having a series of minor failures in the kitchen lately. The bread I made had a mushroom top that collapsed. I've made some amazing ice cream, but also some not-so-good ice cream. But I have repeatedly tried and failed to get a handle on this pressure cooker thing.
I have successfully used it to cook potatoes, but that's been the long and short of it. When I've tried to use it to actually prepare a dish, I've ended up with something soggy and not at all appetizing.
So, dear reader, I am asking you for assistance! Do you have a pressure cooker? Do you have a recipe you always like to make with it? I'm all ears!
Anyway. With all of these new contraptions around, I've been having a series of minor failures in the kitchen lately. The bread I made had a mushroom top that collapsed. I've made some amazing ice cream, but also some not-so-good ice cream. But I have repeatedly tried and failed to get a handle on this pressure cooker thing.
| The shiny menace! |
| Norwegian Surprise: as delicious as it sounds. |
Thursday, December 30, 2010
A Bowlful of Festive
Alright, I've got to get this recipe to you stat, as a) it's crazy delicious and b) it's seasonal and since we are post-Consumermas, is probably already out of date. Also, I'm a little embarrassed to share this, as I do feel it's kind of cheating since the main ingredient is pre-made eggnog. Don't worry--I'm not going to go all Semi-Homemade kwanzaa cake on you, I promise. Just trust that this is stupid easy and ridiculously tasty, and I don't even particularly like eggnog. If you wanted to make your own eggnog not only would this recipe work with it, I would also tip my hat to you.
Eggnog Ice Cream
Adapted from Sherlie's Easy Eggnog Ice Cream at Allrecipes
2 cups eggnog
1 cup heavy whipping cream
1 cup milk
1 tablespoon dark rum
Mix up the goods and pour into the frozen container of an ice cream maker. Follow its directions. Mine took 50 minutes to firm up to soft serve consistency, but you know your own ice cream maker better than I. Eat a little of it now and put the rest of it in a container in the fridge to firm up properly (it will take about 2 hours).
Eggnog Ice Cream
Adapted from Sherlie's Easy Eggnog Ice Cream at Allrecipes
| Mr. Monster approves this recipe. |
1 cup heavy whipping cream
1 cup milk
1 tablespoon dark rum
Mix up the goods and pour into the frozen container of an ice cream maker. Follow its directions. Mine took 50 minutes to firm up to soft serve consistency, but you know your own ice cream maker better than I. Eat a little of it now and put the rest of it in a container in the fridge to firm up properly (it will take about 2 hours).
Tuesday, December 21, 2010
A Winter Pick-Me-Up with the Power of Color
Winter food can get a little... well, boring, especially if your diet is heavy on the produce like mine is. How many ways can a person cook potatoes, anyway? Squash are the tiny splashes of color that keep my winter cooking from ending up monochrome and snooze-inducing. A little scene-stealer of a dish like this one can keep your meals feeing festive and interesting even when you've got, say, several inches of snow on the ground like we do here. Plus, a vegetarian dish that can stand as the beautiful centerpiece of a meal is a rare and wondrous thing (you know where I'm coming from, fellow veggies and almost-veggies: a plate of sides does not a meal make). These babies spend a long time in the oven, so they're best suited to a day when you can commit several hours to kicking around the kitchen--like an upcoming holiday, perhaps.
Roasted Acorn Squash with Corn Pudding
Adapted from Heidi Swanson's recipe at 101Cookbooks
The original recipe only called for 1 acorn squash, but I found that I had way too much filling. Either you can use two squashes (as I suggest here) or you can use one squash and cook the remainder of the filling like a custard. I did mine in an ungreased souffle pan, placed it in a cake pan full of water, and put the whole shebang into a cold oven. I then let it heat up to 375 and baked for 40 minutes. It was okay, but a little bland for me. The combination of egg and squash is what makes this dish stellar.
2 acorn squash (see note above)
1 tablespoon olive oil
1 cup milk
1 egg and 2 egg whites
1/2 cup corn kernels (I used frozen, thawed but fresh would be great too)
1/4 teaspoon allspice
1/3 cup chopped scallions
pinch of nutmeg
1/2 teaspoon salt
1/3 cup grated cheddar
Preheat oven to 375F degrees with your rack in the middle.
Cut your squash in half lengthwise to make nice little cups and scrape them out with a spoon. Then cut a flat spot on the bottom so that the cup sits level. You want to have a nice level container for your filling so there's no slopping about. Rub the top and inside of your squash with the olive oil and put them cup-side up on a baking sheet. Cover with foil and bake for 40 minutes until the squash starts to get tender.
Whisk your eggs together with the milk, allspice, corn, nutmeg, salt, and about half to 2/3 of the scallions. Please note that the corn will sink, especially if you use frozen, and everything else will float. Give it a good stir right before pouring it into the squash, filling them about 3/4 of the way. Just leave the squash on the same baking sheet to save yourself the trouble of moving a mostly full squash cup from one surface to another. The original recipe says it can take as little time as 30 minutes, depending on the oven, but I was using my mom's nice new oven (thanks Mom!) and my pudding took nearly an hour and a quarter to set--so proceed with patience!
When the pudding looks done, sprinkle on your cheese and put the squash back in the oven for another 5 minutes. If you're feeling fancy, you can also melt the cheese by putting the squash under a hot broiler for a quick crisp--just be careful not to burn anything. Sprinkle your remaining scallions on top and tuck in!
Roasted Acorn Squash with Corn Pudding
Adapted from Heidi Swanson's recipe at 101Cookbooks
The original recipe only called for 1 acorn squash, but I found that I had way too much filling. Either you can use two squashes (as I suggest here) or you can use one squash and cook the remainder of the filling like a custard. I did mine in an ungreased souffle pan, placed it in a cake pan full of water, and put the whole shebang into a cold oven. I then let it heat up to 375 and baked for 40 minutes. It was okay, but a little bland for me. The combination of egg and squash is what makes this dish stellar.
2 acorn squash (see note above)
1 tablespoon olive oil
1 cup milk
1 egg and 2 egg whites
1/2 cup corn kernels (I used frozen, thawed but fresh would be great too)
1/4 teaspoon allspice
1/3 cup chopped scallions
pinch of nutmeg
1/2 teaspoon salt
1/3 cup grated cheddar
| Mise en place: the finest kitchen methodology! |
Cut your squash in half lengthwise to make nice little cups and scrape them out with a spoon. Then cut a flat spot on the bottom so that the cup sits level. You want to have a nice level container for your filling so there's no slopping about. Rub the top and inside of your squash with the olive oil and put them cup-side up on a baking sheet. Cover with foil and bake for 40 minutes until the squash starts to get tender.
Whisk your eggs together with the milk, allspice, corn, nutmeg, salt, and about half to 2/3 of the scallions. Please note that the corn will sink, especially if you use frozen, and everything else will float. Give it a good stir right before pouring it into the squash, filling them about 3/4 of the way. Just leave the squash on the same baking sheet to save yourself the trouble of moving a mostly full squash cup from one surface to another. The original recipe says it can take as little time as 30 minutes, depending on the oven, but I was using my mom's nice new oven (thanks Mom!) and my pudding took nearly an hour and a quarter to set--so proceed with patience!
When the pudding looks done, sprinkle on your cheese and put the squash back in the oven for another 5 minutes. If you're feeling fancy, you can also melt the cheese by putting the squash under a hot broiler for a quick crisp--just be careful not to burn anything. Sprinkle your remaining scallions on top and tuck in!
| Look at this spread and try to feel dreary. I dare ya. |
Sunday, December 12, 2010
Notable Potables: Brugge Brasserie's Thunder Monkey
When I think of a winter beer, I tend to imagine molasses with a head of foam: something thick, viscous, and chewy that likely counts, calorie-wise, as the entirety of my meal. The holidays are my favorite time for beer for precisely this reason, since for about three months brewers suddenly remember that people really do like dark brews. Brugge Brasserie, Indianapolis' temple to Belgium, offers a holiday beer by the name of Thunder Monkey that is anything but the heavy, rich variety of winter beer that I know and love, but to be honest, I kind of dig it anyway.
I failed to take a photo so you will just have to use your imaginations, cats & kittens. This brew is about the color of a good bourbon, lightly effervescent, and light in the head department. Coriander and cinnamon are the first notes I got in a sip, with a little anise and hops bite at the end. The beer is very light, so the flavor is gone as soon as you've sensed it, making this a fabulous beer to drink with dinner: no fighting between flavors. Now if you hear "cinnamon" and "holiday beer" and fear you're going to have a swig full of Essence of Christmas Febreze, don't panic. If the brewers had messed with any bourbon barrel aging or cloying vanilla notes or even yeastiness, maybe. Nothing of the sort here. In fact, I'd like this brew as well in autumn as I do in winter. It's great with crepes & frites, but I bet it'd be killer with an apple and cheese plate.
The bad news? This stuff is only available in Indianapolis, and is a rare occurrence on Brugge's menu. If you happen to be there and it's on tap, go for it. Hoosier Beer Geek gave Thunder Monkey 3.96 mugs back in 2007, but their review sounds like an entirely different beer, so I imagine it's undergone some revisions between then and now. I strongly recommend the current version--that is, if you manage to snag some.
I failed to take a photo so you will just have to use your imaginations, cats & kittens. This brew is about the color of a good bourbon, lightly effervescent, and light in the head department. Coriander and cinnamon are the first notes I got in a sip, with a little anise and hops bite at the end. The beer is very light, so the flavor is gone as soon as you've sensed it, making this a fabulous beer to drink with dinner: no fighting between flavors. Now if you hear "cinnamon" and "holiday beer" and fear you're going to have a swig full of Essence of Christmas Febreze, don't panic. If the brewers had messed with any bourbon barrel aging or cloying vanilla notes or even yeastiness, maybe. Nothing of the sort here. In fact, I'd like this brew as well in autumn as I do in winter. It's great with crepes & frites, but I bet it'd be killer with an apple and cheese plate.
The bad news? This stuff is only available in Indianapolis, and is a rare occurrence on Brugge's menu. If you happen to be there and it's on tap, go for it. Hoosier Beer Geek gave Thunder Monkey 3.96 mugs back in 2007, but their review sounds like an entirely different beer, so I imagine it's undergone some revisions between then and now. I strongly recommend the current version--that is, if you manage to snag some.
Tuesday, November 30, 2010
Magical White Trees: The Tale of Unloved Veg
I have an admission to make, gentle reader.
I have never liked cauliflower.
There, I said it. Will I lose my food blogging license? It doesn't matter: the truth must out. I can do broccoli, fine, but cauliflower has always seemed too... sulfur-y. There has always been something to cauliflower that reminded me of hard-boiled eggs, which also are not too dear to my heart. Besides, every way I have had it cooked, it is either stalky and tough or a complete mush-fest. Not, as Saint Alton would say, good eats.
But cauliflower is such a winter staple, and as a vegetarian I feel a certain duty to actually try different vegetables from time to time (I can't eat peas in everything, Wife will remind me), so I decided that I should figure out how to make cauliflower delicious. Did I succeed? Well, no one was more shocked than I when yesterday in the grocery store, I made a beeline for the cauliflower and popped a head of it in the cart. Gleefully, I might add.
Don't believe me? I dare you to try this and not want seconds. Go ahead. Try it.
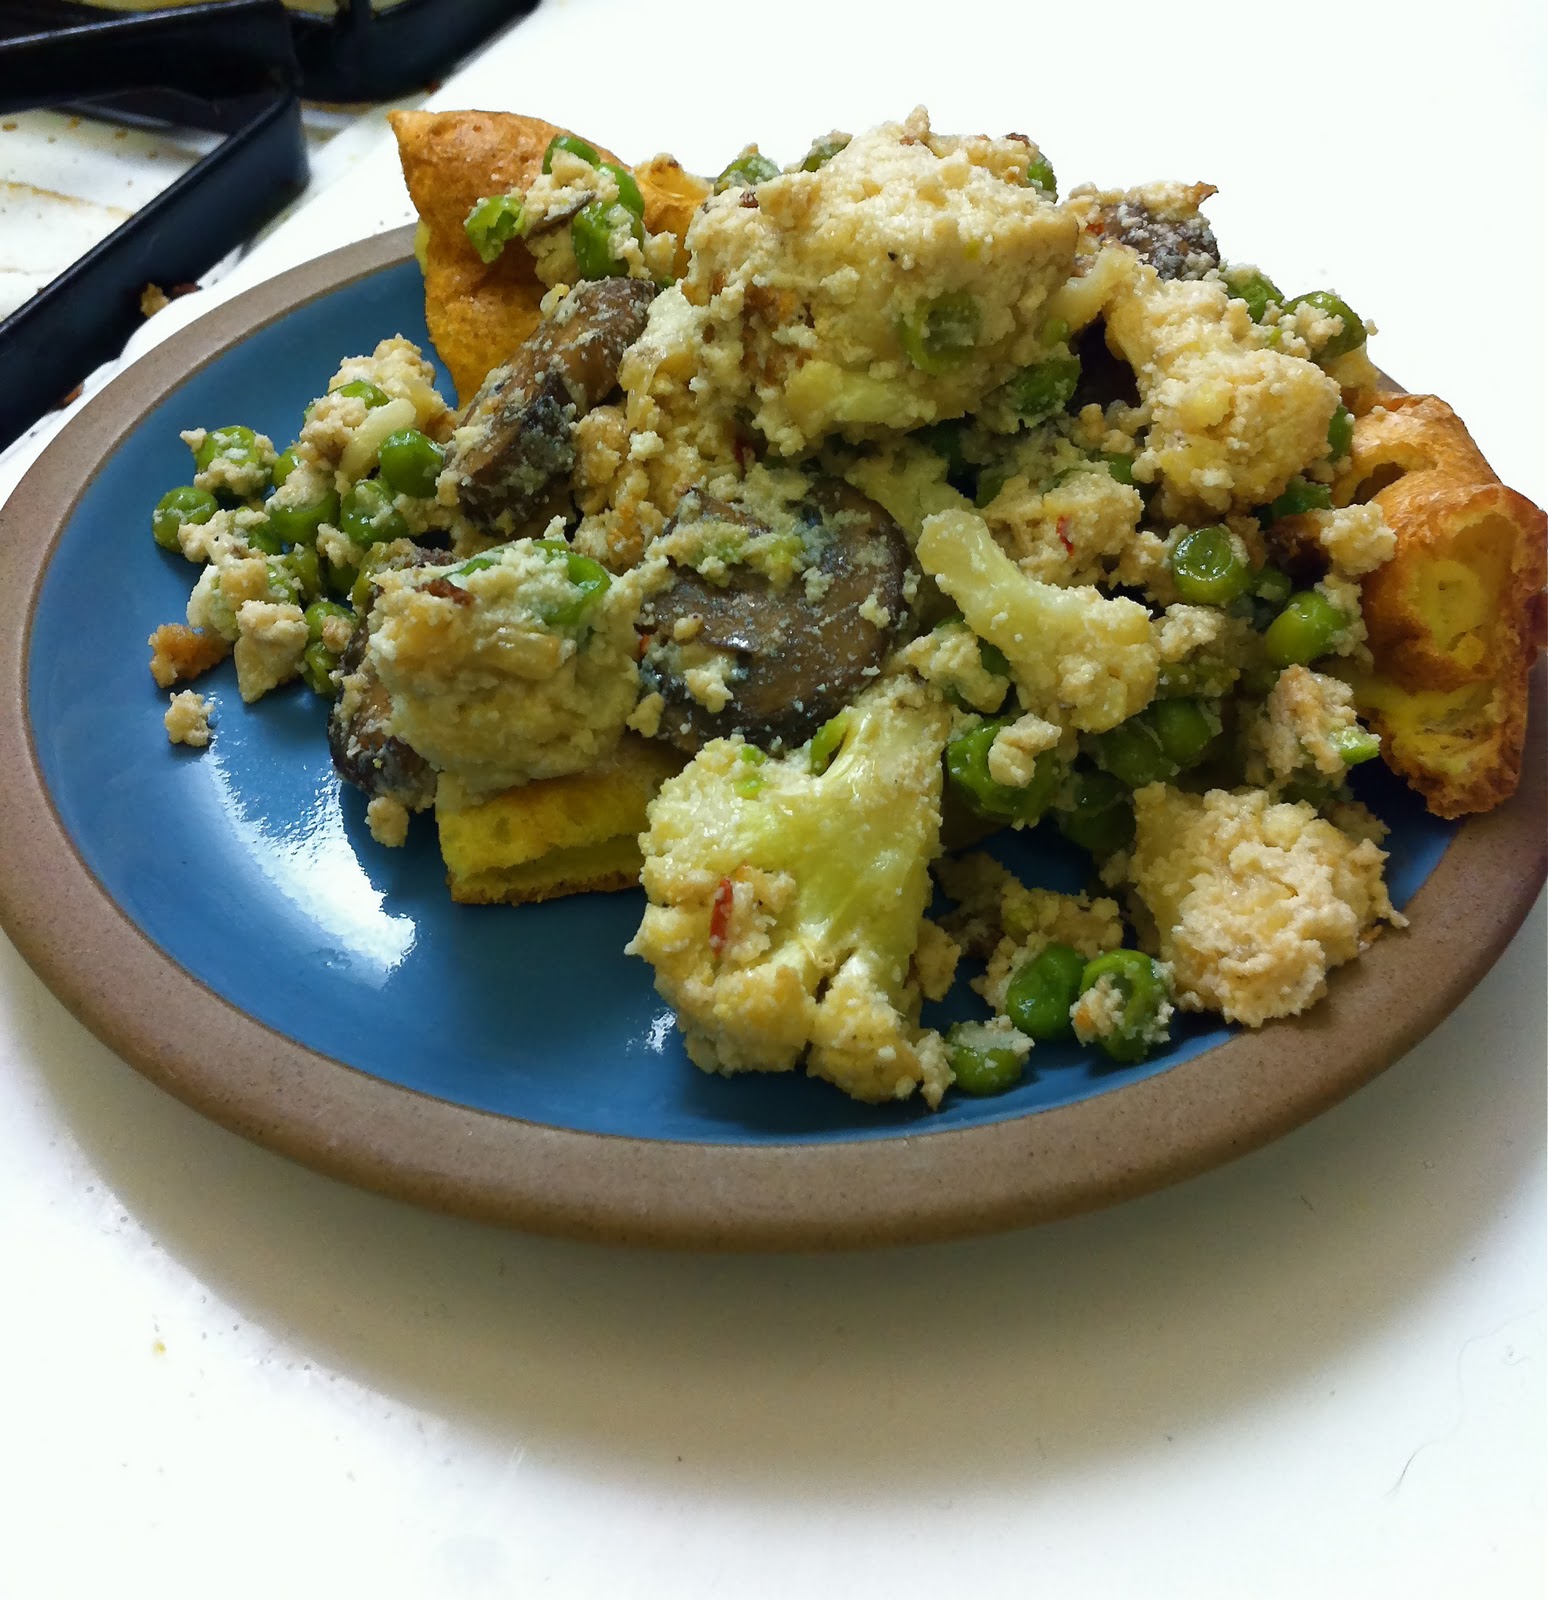
Roasted Cauliflower with Ricotta and Peas
Inspired by cauliflower 'pasta' with peas and ricotta by Jules at Stonesoup.
1 head cauliflower, cut like so
1 TB olive oil
2 clove garlic, minced
pinch of red pepper flakes
1/2 onion, minced
2 cups frozen peas, thawed (if you don't share my enthusiasm for peas, you can reduce or eliminate this)
2 cups ricotta
1 cup or so parmesan, shredded
1. Cut up your cauliflower all neat-like and saute in the olive oil in a nice big pan until they soften.
2. Add the garlic, red pepper flakes, onion, and peas to the party. Saute on medium-high until brown and tender.
3. Kill the heat but leave on the burner and add the ricotta. It will take a little convincing to stir through, but it'll behave once it's heated through.
4. Taste, season, and add the parmesan to your liking.
5. Devour. If you included the peas--congratulations. You've just had two servings of veg. MAGIC.
I have never liked cauliflower.
There, I said it. Will I lose my food blogging license? It doesn't matter: the truth must out. I can do broccoli, fine, but cauliflower has always seemed too... sulfur-y. There has always been something to cauliflower that reminded me of hard-boiled eggs, which also are not too dear to my heart. Besides, every way I have had it cooked, it is either stalky and tough or a complete mush-fest. Not, as Saint Alton would say, good eats.
But cauliflower is such a winter staple, and as a vegetarian I feel a certain duty to actually try different vegetables from time to time (I can't eat peas in everything, Wife will remind me), so I decided that I should figure out how to make cauliflower delicious. Did I succeed? Well, no one was more shocked than I when yesterday in the grocery store, I made a beeline for the cauliflower and popped a head of it in the cart. Gleefully, I might add.
Don't believe me? I dare you to try this and not want seconds. Go ahead. Try it.
Roasted Cauliflower with Ricotta and Peas
Inspired by cauliflower 'pasta' with peas and ricotta by Jules at Stonesoup.
| Shown here on top of some puffy pancake, but it's just as good on its own. |
1 head cauliflower, cut like so
1 TB olive oil
2 clove garlic, minced
pinch of red pepper flakes
1/2 onion, minced
2 cups frozen peas, thawed (if you don't share my enthusiasm for peas, you can reduce or eliminate this)
2 cups ricotta
1 cup or so parmesan, shredded
1. Cut up your cauliflower all neat-like and saute in the olive oil in a nice big pan until they soften.
2. Add the garlic, red pepper flakes, onion, and peas to the party. Saute on medium-high until brown and tender.
3. Kill the heat but leave on the burner and add the ricotta. It will take a little convincing to stir through, but it'll behave once it's heated through.
4. Taste, season, and add the parmesan to your liking.
5. Devour. If you included the peas--congratulations. You've just had two servings of veg. MAGIC.
Tuesday, November 16, 2010
Canning Adventures: Marmalade!
This is the first year I have ever canned and I am officially smitten. I am an utter cheapskate, so the opportunity to preserve goods in the hand for later is irresistible. Besides, glowing color in glass in rows and rows on my shelves is never a bad thing. And there's the whole mad-scientist-in-the-kitchen thing.
Anyway.
Since the garden is officially sad-looking, canning adventures have moved from fresh produce to preserves. My first jammy experiment: marmalade!
Bitter, citrusy, and perfect on the sort of tasty baked goods that are just around the corner this time of year (or already in your kitchen, if you're like me). I used an Ina Garten recipe that (appropriately) is called Anna's Orange Marmalade. I used more oranges than she called for, but that was because my oranges were medium, not large.
Anna's Orange Marmalade
adapted from Ina Garten, original here
Ingredients:
4 large oranges (or 6 medium, in my case)
2 lemons
8 cups of sugar
8 cups of water
patience (you will have to wait 24 hours between prep & cooking)
1. Cut oranges & lemons in half, very thinly. Do you have a mandoline? Bully for you. The rest of us, cut very thinly. Pitch the seeds, save the juice. Using one of those bendy cutting mats is helpful.
2. Put all your citrusy goodness in a big stainless steel pot with the 8 cups of water. Bring it to a boil and add the sugar.
4. So, the next day, you might think "ah! I've waited long enough!" But you would be wrong. Bring it to a boil again, reduce the heat, and let it simmer uncovered for 2 hours.
5. Give it a stir and bring the heat up to medium. Boil for another 30 minutes. Skim off foam that collects on the top. You want the mixture to hit 220 degrees Fahrenheit.
6. Don't trust your thermometer? Chill a plate in the fridge and, once it's cold, put a spoonful of marmalade on it and pop it back in the fridge. Once it's cool, it should be firm, but not as hard as you think it ought to be.
7. Can it! Ladle the marmalade into your sterilized jars, lid 'em, and process in a hot water bath for 5-8 minutes. They'll keep a year.
Note: this is bitter, bitter stuff. I like it that way, but if you wanted a less bitter product, try putting in only half of the peels.
Anyway.
Since the garden is officially sad-looking, canning adventures have moved from fresh produce to preserves. My first jammy experiment: marmalade!
Bitter, citrusy, and perfect on the sort of tasty baked goods that are just around the corner this time of year (or already in your kitchen, if you're like me). I used an Ina Garten recipe that (appropriately) is called Anna's Orange Marmalade. I used more oranges than she called for, but that was because my oranges were medium, not large.
Anna's Orange Marmalade
adapted from Ina Garten, original here
Ingredients:
4 large oranges (or 6 medium, in my case)
2 lemons
8 cups of sugar
8 cups of water
patience (you will have to wait 24 hours between prep & cooking)
1. Cut oranges & lemons in half, very thinly. Do you have a mandoline? Bully for you. The rest of us, cut very thinly. Pitch the seeds, save the juice. Using one of those bendy cutting mats is helpful.
2. Put all your citrusy goodness in a big stainless steel pot with the 8 cups of water. Bring it to a boil and add the sugar.
3. Once the sugar is all incorporated, cut the heat, cover it, and let it sit overnight.
4. So, the next day, you might think "ah! I've waited long enough!" But you would be wrong. Bring it to a boil again, reduce the heat, and let it simmer uncovered for 2 hours.
5. Give it a stir and bring the heat up to medium. Boil for another 30 minutes. Skim off foam that collects on the top. You want the mixture to hit 220 degrees Fahrenheit.
6. Don't trust your thermometer? Chill a plate in the fridge and, once it's cold, put a spoonful of marmalade on it and pop it back in the fridge. Once it's cool, it should be firm, but not as hard as you think it ought to be.
7. Can it! Ladle the marmalade into your sterilized jars, lid 'em, and process in a hot water bath for 5-8 minutes. They'll keep a year.
Note: this is bitter, bitter stuff. I like it that way, but if you wanted a less bitter product, try putting in only half of the peels.
Subscribe to:
Posts (Atom)